Shear Blade Adjustment
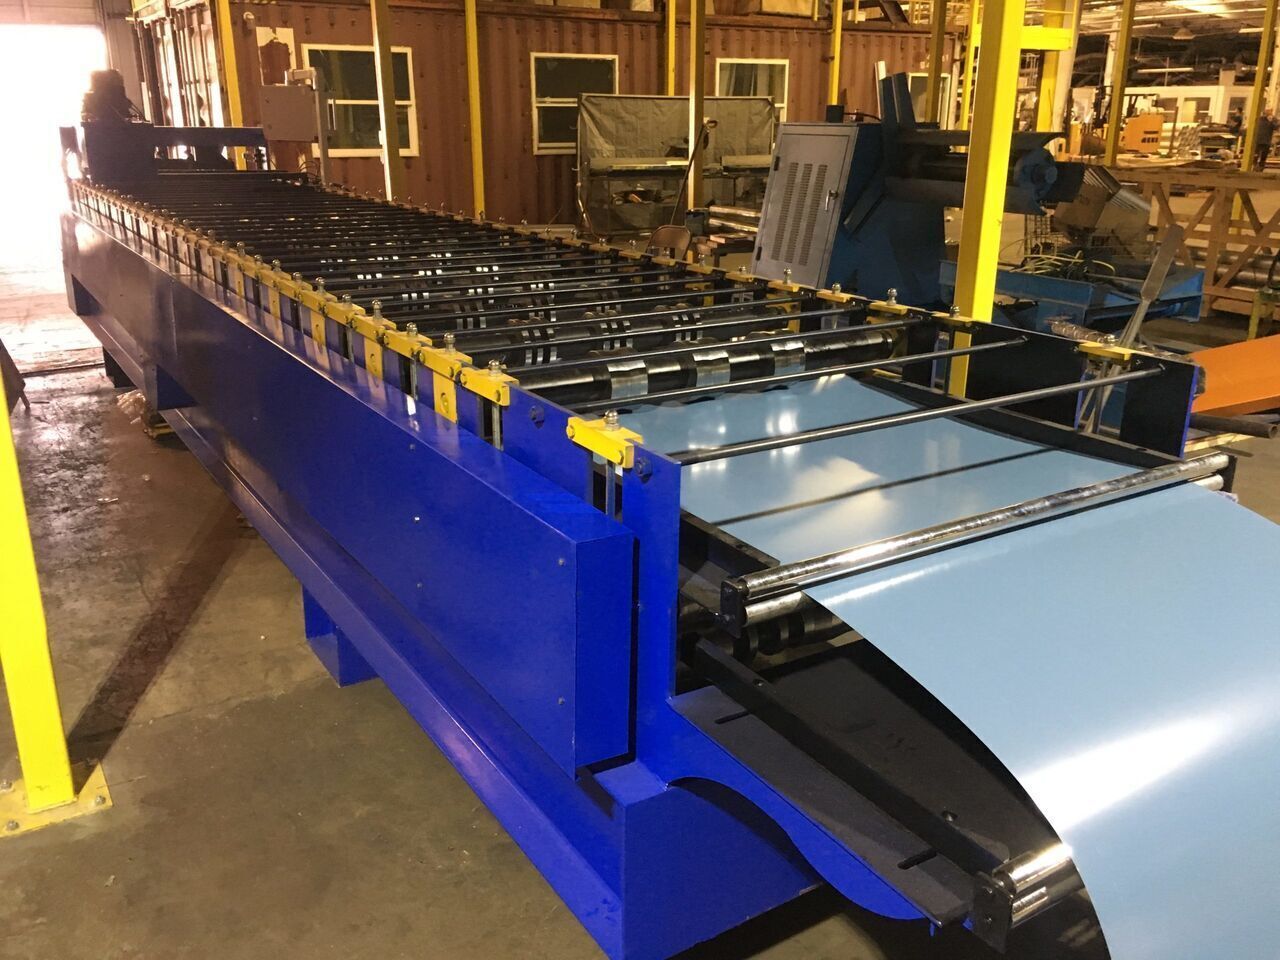
Plate shears are used in roll-forming machines to make cuts in the metal sheet as it passes through the machine, according to the product specifications.
Posted on Wednesday, March 29, 2023
Knowing how to adjust the shear blades is essential if a manufacturer wants to fit different sheet metal cutting materials and thicknesses.
The step-by-step process to adjust the shear blade gap
You’ll need a 1 1/8” wrench, a 24” adjustable wrench, a 15/16” wrench, and a small adjustable wrench.
Make sure you switch the machine off, shut off all air to the shear, and drain the tank of all air pressure using the drain valve to ensure safety before starting the process.
The first step is to move the top blade. Move the top blade back towards the rollers, and make sure there is clearance between the top and bottom blade by turning the three force-inch bolts to loosen them - doing this means that when you raise the bottom blade, it cannot come into contact with the top one.
The next step is to use the front and back jacking bolts to move the top blade back. The bottom blade holder can now be adjusted.
To do this, locate the four brass guides holding the bottom blade. Over time, the brass can allow the blades to become out of adjustment. Loosen them slightly and take two jacking bolts per side and fit them snugly until you couldn’t get a .002 shim between the brass and the blade (this is around the thickness of a piece of paper). Check all four points around the brass. Repeat this step on the other side. When proper tension has been achieved, you must place your large adjustable wrench on the actuator shaft, which is located just below the roll former. Lift the wrench up slightly - you should lift it to feel some resistance, but don’t overdo it!
Usually, if the blade moves down slowly with light pressure from the wrench, the tension is good.
There is a shim that can be found under the top blade that allows it to be slightly tilted back; This helps ensure that the top blade does not make contact with the surface of the bottom blade, allowing it to only use the cutting edge.
Now we adjust the top blade to the bottom blade. The bottom blade is designed the have three-quarters of a difference in height from one side to the other side.
This means the metal is cut in a scissor-like effect instead of a chopping one. Now it’s time to raise the lower blade to overlap the top blade by 1/16th of an inch on the highest side. Then match the cutting edges to one another. The top blade can then be adjusted using the jacking bolts until both blades are touching. Once you’ve completed the process of adjusting the high side, this process can be repeated for the low side, and once you have done this, you must recheck the high side as you may need to readjust.
Finally, you can snug and tighten the bolts to ensure everything is in place, being careful not to over-tighten. Once you have adjusted the bolts on both sides, lower the bottom blade all the way and place paper over the cutting blade to test it. Raise the paper up in a swift motion. The adjustment is successful if the paper is cut (without ripping or folding). If the paper test does not work, readjust the blade and close the gap by following the steps above.
If you are looking for a roll-forming machine for your business, browse our collection or contact our team today.
Roll Forming Machines LLC's New Factory
Posted on Sunday, March 23, 2025
We have relocated factories, which will be available for tours very soon.

Uncoiler, Decoiler and Coil Car Roll Forming Machine Accesories from Roll Forming Machines LLC
Posted on Sunday, November 24, 2024
Contact us today with your specifications for a custom Uncoiler, Decoiler or Coil Car at sales@rollformerusa.com or call us at (+1) (407) 859 1119

Stud and Track Roll Forming Machines from Roll Forming Machines LLC
Posted on Saturday, November 23, 2024
Contact us today with your specifications for a custom Stud and Track Machine at sales@rollformerusa.com or call us at (+1) (407) 859 1119

Cee and Zee Purlin Roll Forming Machines from Roll Forming Machines LLC
Posted on Saturday, November 23, 2024
Contact us today with your specifications for a custom Cee and Zee Purlin Machine at sales@rollformerusa.com or call us at (+1) (407) 859 1119